How to Remove and Replace Car Paint Protection Film?
If your paint protection film (PPF) has started to yellow, peel, or lose its clarity, it’s time to give your car a fresh layer of defense. Learning how to remove car paint protection film and install a new one doesn’t just improve appearance—it keeps your paint safe from scratches, chips, and UV damage. Whether you’re handling clear bra removal at home or considering professional service, knowing the process will help you protect your vehicle’s finish and avoid costly mistakes. You can also review the Car Paint Protection Film Installation Process to understand what to expect during reapplication.

Understanding Why PPF Needs Replacement
Over time, even the best PPF can degrade due to sun exposure, road debris, and weather conditions. You might notice edges lifting, surface cloudiness, or a sticky residue underneath. This is when car paint protection film removal becomes necessary. By replacing it promptly, you maintain the integrity of your paint and prevent damage from worsening. If your vehicle has a unique look, you may want to explore Car Paint Protection Film for Matte Finish Cars to keep its style intact.
Signs It’s Time for PPF Removal
- Yellowing or discoloration of the film
- Cracks, bubbles, or peeling edges
- Loss of gloss and clarity
- Adhesive residue appearing on the paint
Step-by-Step Paint Protection Film Removal Guide
Removing PPF yourself is possible if you have patience and the right tools. The best way to remove old paint protection film from car surfaces is to use controlled heat and gentle peeling.
Tools Needed to Remove Paint Protection Film
- Heat gun or hair dryer
- Plastic scraper or squeegee
- Adhesive remover or alcohol
- Microfiber towels

How to Safely Remove Paint Protection Film Without Damaging Paint
- Warm the film with a heat gun or steamer to soften the adhesive.
- Gently peel off the film starting from one corner.
- Use a plastic scraper to help lift stubborn areas.
- Remove leftover adhesive with a solvent or rubbing alcohol.
- Wash and dry the area completely.
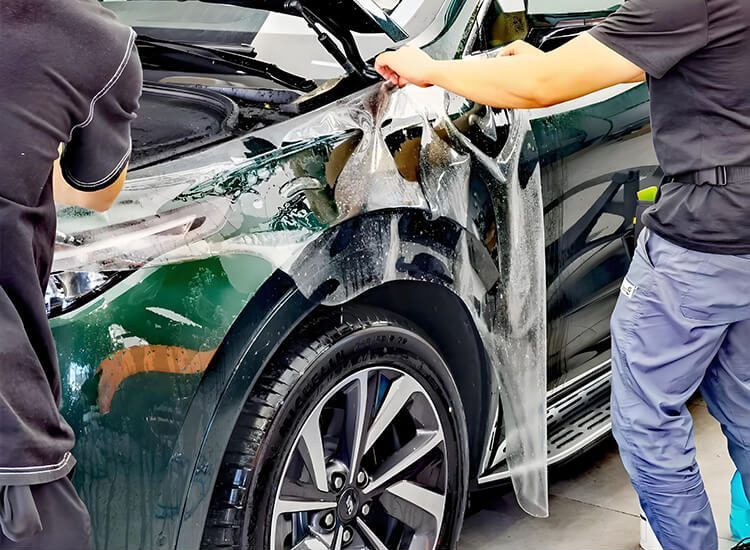
How to Replace Car Paint Protection Film
Once the old film is gone, you can replace paint protection film to restore protection. Many car owners choose professional PPF replacement, but a DIY paint protection film replacement tutorial can work for smaller areas like headlights or bumpers. For the best long-term results, it’s worth checking the Best 10 Paint Protection Film Brands before choosing your new film.
Tips for Successful PPF Replacement
- Clean and decontaminate the paint before installation
- Use soapy water to help position the film correctly
- Smooth out bubbles with a squeegee
- Allow 24–48 hours for the adhesive to fully bond
Professional vs. DIY PPF Removal and Replacement
If you lack the tools or confidence, searching for paint protection film removal near me can connect you with trained installers who know how to handle clear paint protection film replacement without risk. Professional service may cost more but often includes a warranty and guarantees a flawless finish. Also, consider the PPF Coating Cost to determine whether a professional or DIY approach fits your budget. After installation, don’t forget to follow a proper Maintaining Car Paint Protection Film routine to extend its life.

FAQs
1. Can you replace paint protection film yourself?
Yes, you can, especially for smaller areas, but professional installation ensures better results and durability.
2. What is the cost to remove and replace car paint protection film?
Prices vary by vehicle size, film quality, and installer, ranging from $500 to $5,000.
3. How to remove paint protection film without heat?
You can peel it off cold, but it’s harder and increases the risk of paint damage—gentle heat is highly recommended.